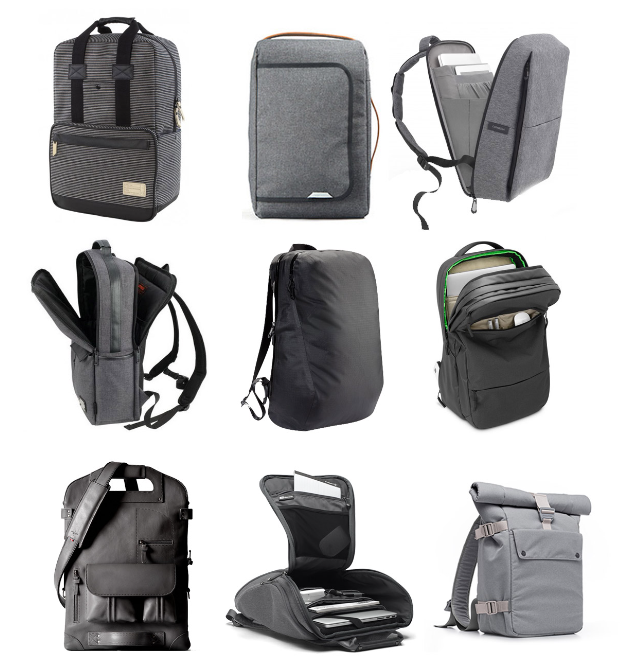
Whether you’re a student, a working professional, or a digital nomad, a laptop backpack is an essential item for anyone who needs to carry their laptop and other essentials on the go. In this article, we will provide you with a 10-step packing guide to help you pack your laptop backpack efficiently and securely.
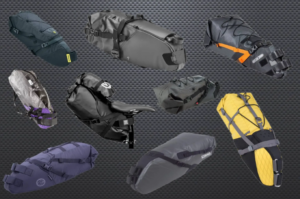
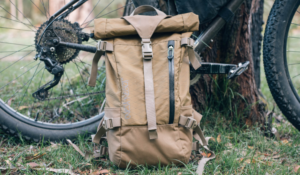
Step 1: Choose a suitable laptop backpack size for your Trip
The first step in packing your laptop backpack is to choose the right size for your daily commuting or travel needs. Laptop backpacks come in different sizes, and it’s essential to choose a backpack that can accommodate all your essentials.
When choosing a backpack, consider the size of your laptop, the number of items you need to carry, and your comfort level while carrying the backpack.
Generally speaking, computer backpacks have common capacities of 20L, 30L, 40L, etc. What you need to do is to decide how big a backpack you need to buy based on the size and number of items you carry on a daily basis. This can usually be predicted, or if you’re not sure, you can try taking your items to the store to load them up to test if the capacity is right.
| Backpack Size | Laptop Size | Trip Type | Additional Features |
|---|---|---|---|
| 15-20 liters | Up to 13 inches | Day trips, commuting, short hikes | Lightweight, compact, simple design |
| 20-30 liters | Up to 15 inches | Weekend trips, carry-on luggage | Multiple compartments, padded straps, comfortable back panel |
| 30-40 liters | Up to 17 inches | Longer trips, backpacking, hiking | Multiple access points, hip belt, compression straps, hydration system compatibility |
| 40+ liters | Up to 18 inches or larger | Extended travel, heavy-duty use, outdoor activities | Removable daypack, detachable hip belt, rain cover, load-lifter straps |
Additional Features
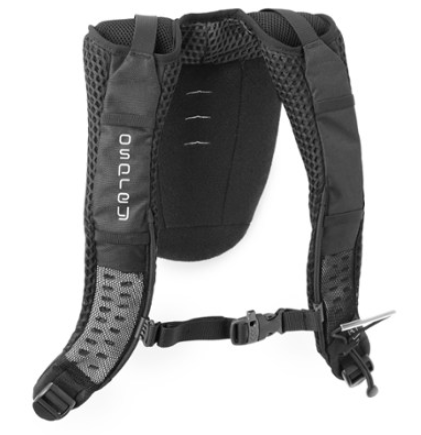
Padded straps: A backpack with straps that are cushioned for added comfort when carrying heavy loads
Multiple compartments: a backpack with multiple pockets or compartments for organization

Comfortable back panel: a backpack with a back panel that is padded and ventilated for added comfort and breathability
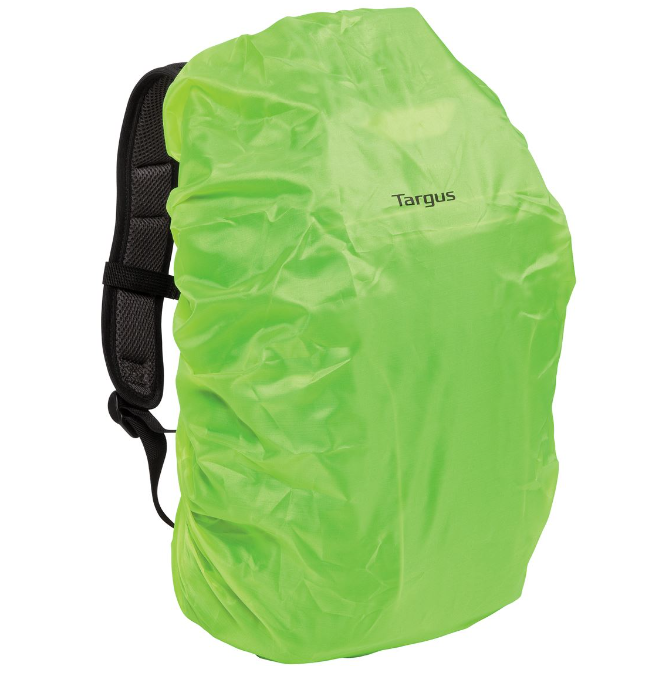
Rain cover: a cover that can be put over the backpack to protect it from rain and moisture
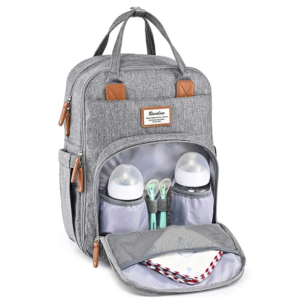
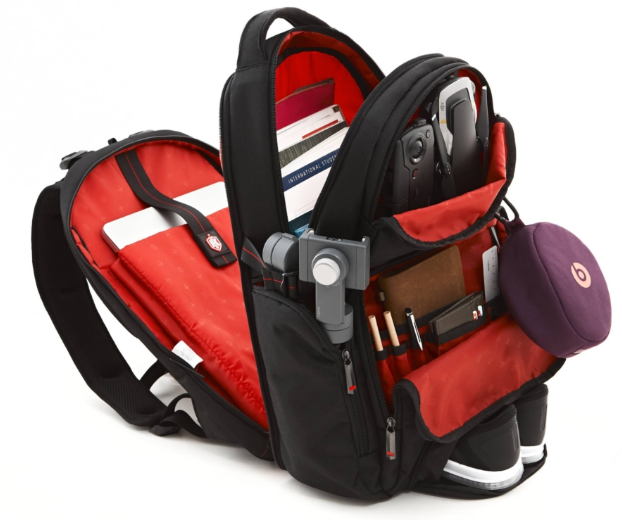
Step 2: Essential items for your laptop backpack
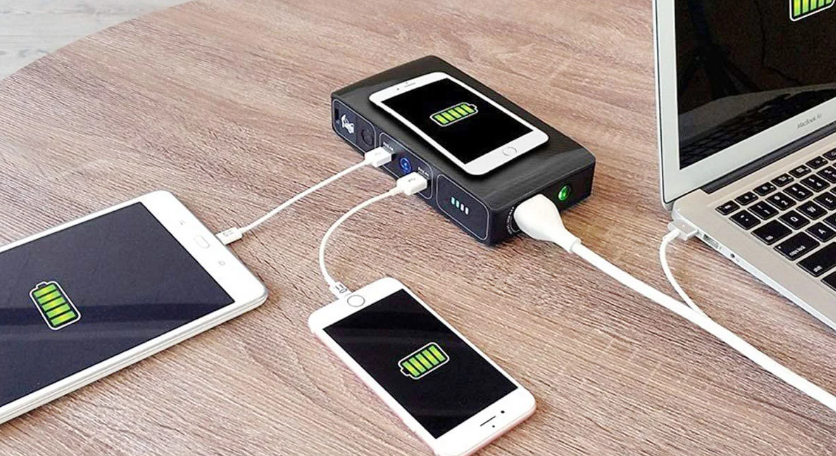
Once you’ve chosen the right size for your backpack, the next step is to pack your essential items. Essential items for your laptop backpack include your laptop and charger, phone and charger, headphones or earbuds, power bank, and a mouse (optional). These items are essential for work, communication, and entertainment while on the go.
- laptop and charger
- phone and charger
- headphones or earbuds
- power bank
- mouse (optional)
Pack them with tech pouches
For cell phones, cameras, chargers and other electronic devices may be accidentally damaged by putting them directly into a laptop backpack. It would be an excellent idea to use a tech pouch to store them before putting them in the backpack. The tech pouch not only provides a second layer of protection, but also makes it easier to find what you need faster.
Step 3: Office supplies
In addition to your essential items, your laptop backpack should also contain office supplies that you might need. These include a notebook and pen for jotting down notes and ideas, sticky notes and highlighters for reminders and important information, business cards (if applicable), and a USB flash drive for storing and transferring data.
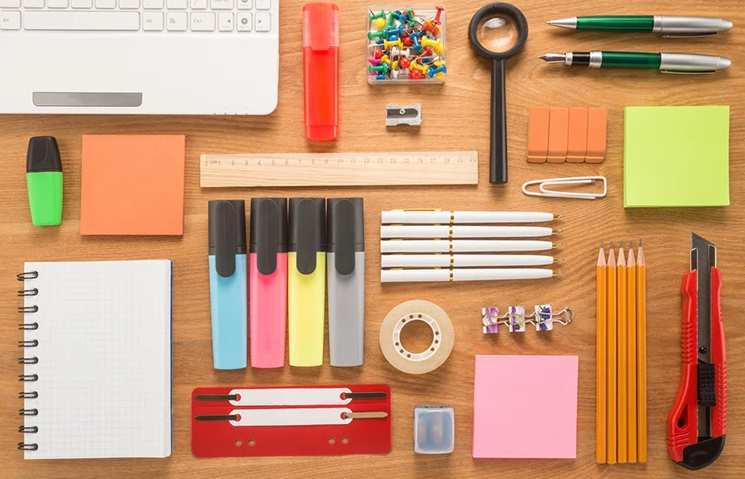
These small items can be stored in small pockets in the main compartment so they don’t shake or fall out.
- notebook
- pen
- sticky notes
- highlighters
- business cards (if applicable)
- USB flash drive
Step 4: Personal items
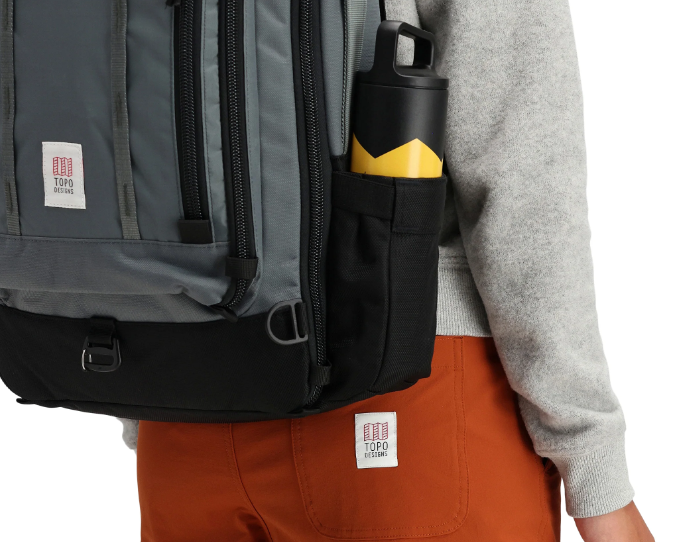
Apart from work-related items, you should also pack personal items that you might need during the day. These items include a water bottle, snacks, hand sanitizer and disinfectant wipes, tissues, and sunglasses (if applicable).
These items are essential for staying hydrated, refreshed, and comfortable while commuting or traveling.
- water bottle
- snacks
- hand sanitizer
- disinfectant wipes
- sunglasses (if applicable)
Step 5: Optional items
Depending on your needs, you may want to pack optional items that can make your work or travel easier. You should bring a portable keyboard for typing comfort, a portable monitor for a larger display, a webcam for video conferencing, and a portable printer for printing documents on the go.
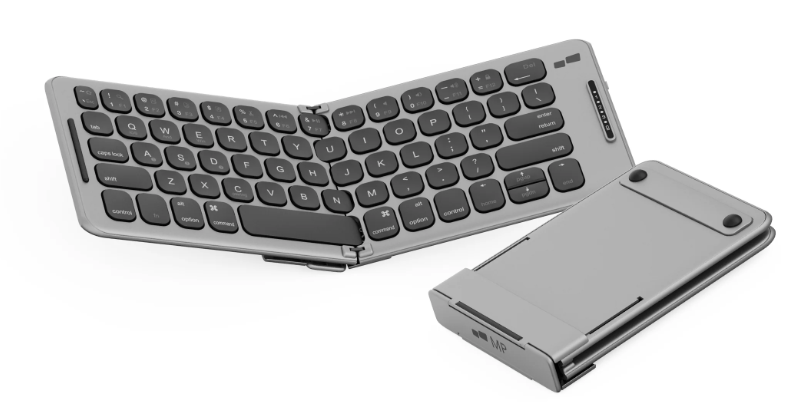
- portable keyboard
- portable monitor
- webcam
- portable printer
Today, Bluetooth connection technology is very popular. Most portable keyboards and monitors use Bluetooth connectivity, which is much more convenient and easier to store in a backpack than the old-fashioned wired accessories.
Step 6: Consider the weather
When packing your laptop backpack, it’s important to consider the weather and pack accordingly. For instance, if it’s a sunny day, you should pack sunscreen and a hat to protect yourself from the sun. If it’s rainy, pack a jacket or sweater and an umbrella or raincoat to keep you dry.

- Sunny day: sunscreen and hat
- Rainy day: jacket or sweater and an umbrella or raincoat
Weather App Recommendation:

Carrot Weather is a weather app with a humorous approach to delivering weather information. It offers hourly, daily, and weekly forecasts, and provides current weather conditions such as temperature, wind speed, and precipitation. The app also has customizable widgets, location-based weather alerts, and integration with Apple Watch, among other features.

The Weather Channel app delivers real-time, reliable weather information to users, including hourly and 10-day forecasts, interactive maps, and customizable alerts for severe weather. It’s free, user-friendly, and available on iOS and Android devices, making it a must-have tool for anyone who needs to stay informed about weather conditions.

To understand local weather, check Windy’s visual maps on your phone. It shows wind patterns well and has 40+ maps with temp, humidity, and more. It also has satellite, Doppler, and hurricane tracking. The free app has many features, but a $18.99 subscription offers more updates.
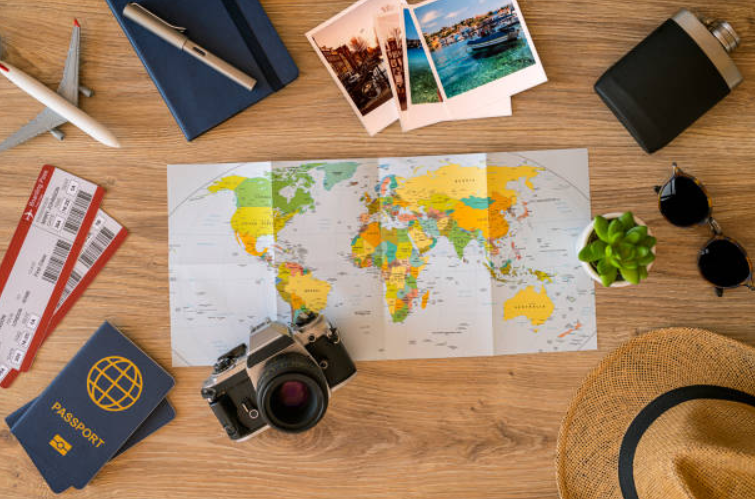
Step 7: Double-check your documents
Before leaving the house, it’s essential to double-check that you have all the necessary documents for the day.
Your ID card, passport (if applicable), printed itinerary and hotel reservations (if traveling). Double-checking your documents ensures that you have everything you need and saves you the stress of realizing you’ve forgotten something important later.
I always suspect I’ve forgotten something before I leave home, so I double-check before I leave, which is why I made this checklist: to help you check with me before you leave.
Don’t know where to put important documents? Here’s a tip: You can put them in the hidden pocket of your laptop backpack. This will prevent you from losing your documents and also prevent you from not being able to find them. Here is a related article: Backpack With Hidden Pocket: The Ultimate FAQ Guide
- ID card
- passport (if applicable)
- printed itinerary
- hotel reservations (if traveling)
Step 8: Other items
Apart from your work-related items and personal items, there are other essential items that you should pack in your laptop backpack. These include your wallet and cash/credit card, keys, and medications (if applicable). These items are important for safety and convenience while on the go.
- wallet
- cash/credit card
- keys
- medications (if applicable)
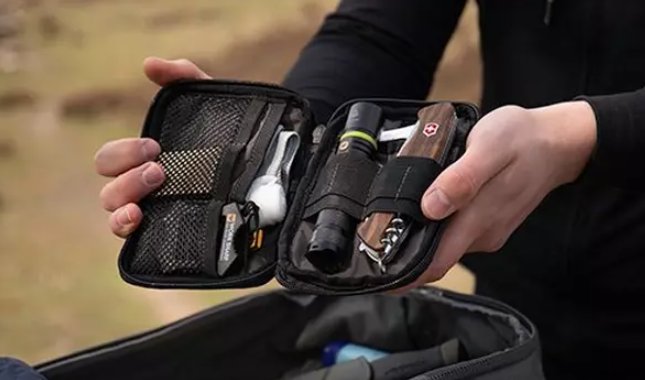
- tools
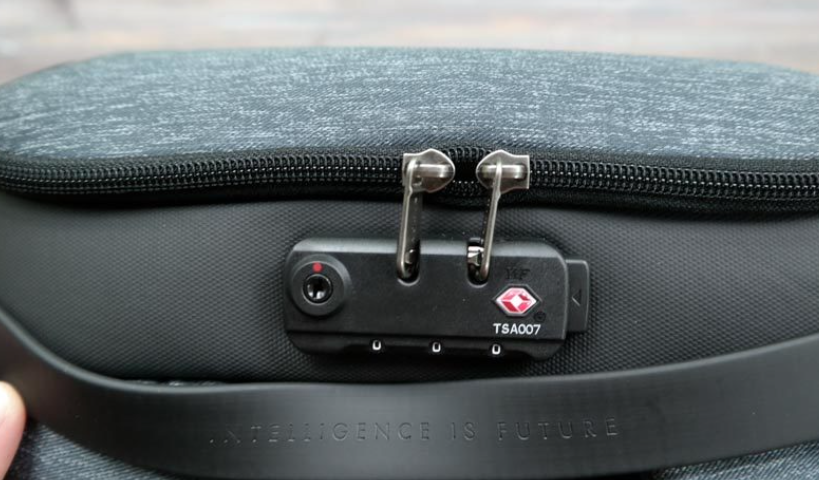
Step 9: Equip with anti-theft locks
Laptop backpacks are a common target for thieves, and it’s essential to equip your backpack with anti-theft locks to keep your items safe and secure. Anti-theft locks can include a combination lock or a lockable zipper, and they provide an extra layer of security for your laptop and other items.
It’s important to remember to keep your backpack in sight at all times. In some public places, if you leave your backpack unattended on the seat when you go to the WC, this can be extremely risky behavior.
Step 10: Control the total weight
When packing your laptop backpack, it’s important to control the total weight to avoid discomfort or strain on your back and shoulders. The weight of your laptop backpack should not exceed 10% of your body weight to avoid back and shoulder pain.
If you’re carrying a lot of items, consider packing them in a rolling suitcase or a separate bag to distribute the weight and reduce the strain on your back. We’ve also summarized a table to help you determine exactly how much weight your computer backpack should carry.
| Backpack Size | Capacity | Max Weight |
|---|---|---|
| Small (15-20 liters) | 1-2 textbooks, laptop (up to 13 inches), notebook, water bottle, small accessories (pens, phone, keys) | 5-10 pounds (2.3-4.5 kg) |
| Medium (20-30 liters) | 2-3 textbooks, laptop (up to 15 inches), notebook, water bottle, small accessories (pens, phone, keys), light jacket or hoodie, snacks | 10-15 pounds (4.5-6.8 kg) |
| Large (30-40 liters) | 3-4 textbooks, laptop (up to 17 inches), notebook, water bottle, small accessories (pens, phone, keys), light jacket or hoodie, lunch, snacks, gym clothes or shoes | 15-20 pounds (6.8-9.1 kg) |
| Extra Large (40-50+ liters) | 4+ textbooks, laptop (up to 17 inches), notebook, water bottle, small accessories (pens, phone, keys), light jacket or hoodie, lunch, snacks, gym clothes or shoes, travel-sized toiletries, camera and photography equipment, large headphones, travel documents | 20+ pounds (9.1+ kg) |
Conclusion
Packing your laptop backpack efficiently and securely requires careful planning and organization. By following these 10 steps, you can pack your laptop backpack with all the necessary items for your daily commuting or travel needs. With these tips, you can enjoy a comfortable and stress-free journey with your laptop backpack.